用 Shader 来做 Noise 比 CPU 做快太多了。
举个例子:
CGINCLUDE

		void FAST32_hash_2D( float2 gridcell, out float4 hash_0, out float4 hash_1 )	//	generates 2 random numbers for each of the 4 cell corners
		{
			//    gridcell is assumed to be an integer coordinate
			const float2 OFFSET = float2( 26.0, 161.0 );
			const float DOMAIN = 71.0;
			const float2 SOMELARGEFLOATS = float2( 951.135664, 642.949883 );
			float4 P = float4( gridcell.xy, gridcell.xy + 1.0 );
			P = P - floor(P * ( 1.0 / DOMAIN )) * DOMAIN;
			P += OFFSET.xyxy;
			P *= P;
			P = P.xzxz * P.yyww;
			hash_0 = frac( P * ( 1.0 / SOMELARGEFLOATS.x ) );
			hash_1 = frac( P * ( 1.0 / SOMELARGEFLOATS.y ) );
		}

		float2 Interpolation_C2( float2 x ) { return x * x * x * (x * (x * 6.0 - 15.0) + 10.0); }

		float Perlin2D( float2 P )
		{
			float2 Pi = floor(P);
			float4 Pf_Pfmin1 = P.xyxy - float4( Pi, Pi + 1.0 );

			float4 hash_x, hash_y;
			FAST32_hash_2D( Pi, hash_x, hash_y );

			float4 grad_x = hash_x - 0.49999;
			float4 grad_y = hash_y - 0.49999;
			float4 grad_results = rsqrt( grad_x * grad_x + grad_y * grad_y ) * ( grad_x * Pf_Pfmin1.xzxz + grad_y * Pf_Pfmin1.yyww );

			grad_results *= 1.4142135623730950488016887242097;		//	(optionally) scale things to a strict -1.0->1.0 range    *= 1.0/sqrt(0.5)
			float2 blend = Interpolation_C2( Pf_Pfmin1.xy );
			float2 res0 = lerp( grad_results.xy, grad_results.zw, blend.y );
			return lerp( res0.x, res0.y, blend.x );

		}
		float PerlinNormal(float2 p, int octaves, float2 offset, float frequency, float amplitude, float lacunarity, float persistence)
		{
			float sum = 0;
			for (int i = 0; i < octaves; i++)
			{
				float h = 0;
				h = Perlin2D((p + offset) * frequency);
				sum += h*amplitude;
				frequency *= lacunarity;
				amplitude *= persistence;
			}
			return sum;
		}

	ENDCG
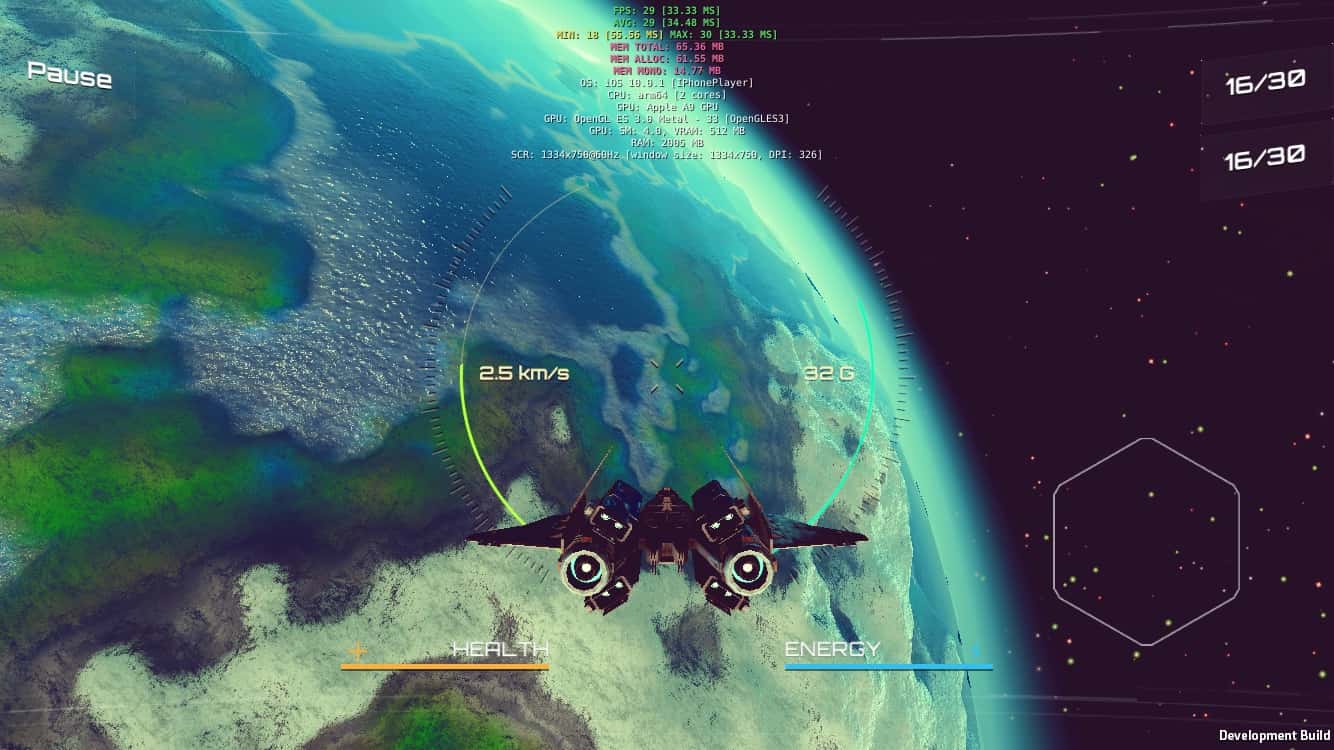
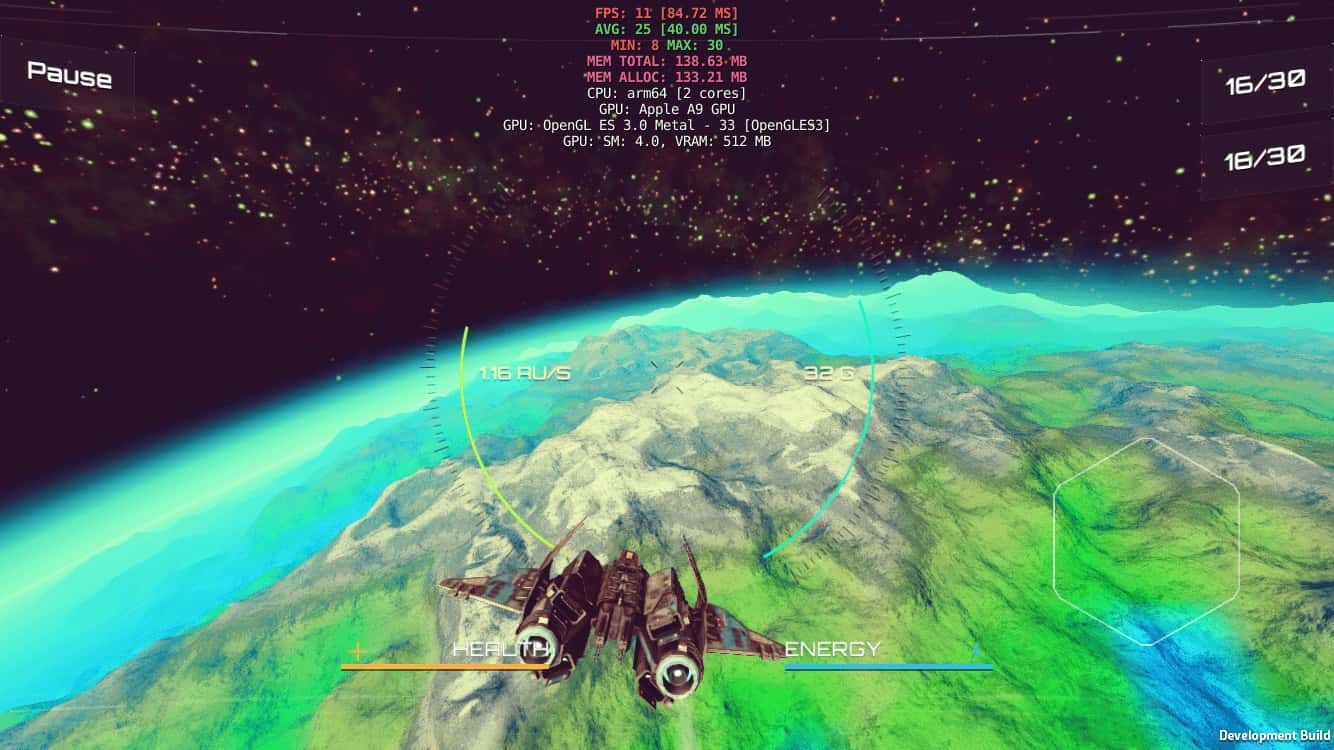
这段代码,取自 briansharpe,在 Unity 上写成 Shader 后使用 RenderTexture (需要 Unity Pro) 渲染到 Texture 上就可以拿到 float[4096][2048] 的数据了,而且在 Update() 里面可以实时更改种子。而相比之下 LibNoise 的 .Net Port 需要半分钟来做到类似的事情。
这个发现让我很兴奋,因为 LibNoise 实在是太慢了,即使是 C++ 版本作者自己也说生成一个星球贴图需要二十分钟。之前尝试了各种加速生成的方法,甚至开始准备写一个 LibNoise 在 Swift 上使用 Accelerate.Framework 来通过 SIMD 加速的移植版本,但是效果都不是很理想。如果一开始就使用 Shader 来做计算的话,这个坎早就过了。